
Spicing Up Your Drawer
9 Quick Steps to Achieving the Spice Drawer of Your Dreams
Want to know one of my favorite things to take pictures of and share with you guys? SPICE DRAWERS. Aren’t they so satisfying to look at? They’re really a favorite of mine to organize for clients because it seems to be an area lots of people struggle with. If you’ve been wanting to DIY a spice drawer of your own, you know I got you covered! I have a quick 10-step process below that will have your spices looking IG worthy in no time!

STEP 1:
Designate the drawer
This drawer should be close to the stove to make for easy access. You may need to sacrifice a drawer (where you might usually put your oven mitts, ziplocs, etc.) to create this space. A spice drawer isn’t for everyone so be sure you have the appropriate space to do this.
STEP 2:
Empty the drawer
Removing everything from the drawer is important because we want a cleared and clean space to work with.
STEP 3:
Purge expired spices
Now is the time to toss any of those 12 year old spices. This is often up for debate in different client households. Do expirations really matter as much for spices as they do for other things? Decide where you stand and toss what you would no longer use!


STEP 4:
Create a list of all spices
Know your inventory! This will help you get a head start on labeling and just know what you have in general.
STEP 5:
Order product
If you’re going for a similar look to what you see in our photos, you’ll need spice jars, labels and drawer organizers.
Laying all of your spices horizontally in the drawer will give you a sense of A) will these all fit? And B) which product is best for my space? If you have a deeper drawer (3” +) we like this option.
For shallow drawers, this is the best option. Note that round canisters will be best for this solution.
STEP 6:
Fill up new canisters
I love this part! Grab a cute little funnel (or make one out of paper) and transfer the goods.

Pro Tip
Be sure to include the tossed spices on your inventory list so you can account for them being there later!
STEP 7:
Add your labels
Y’all knew this step was coming! There are some different options for labeling. Here are some of our favorites:
Labels that come with the jars on amazon makes it easy!
STEP 8:
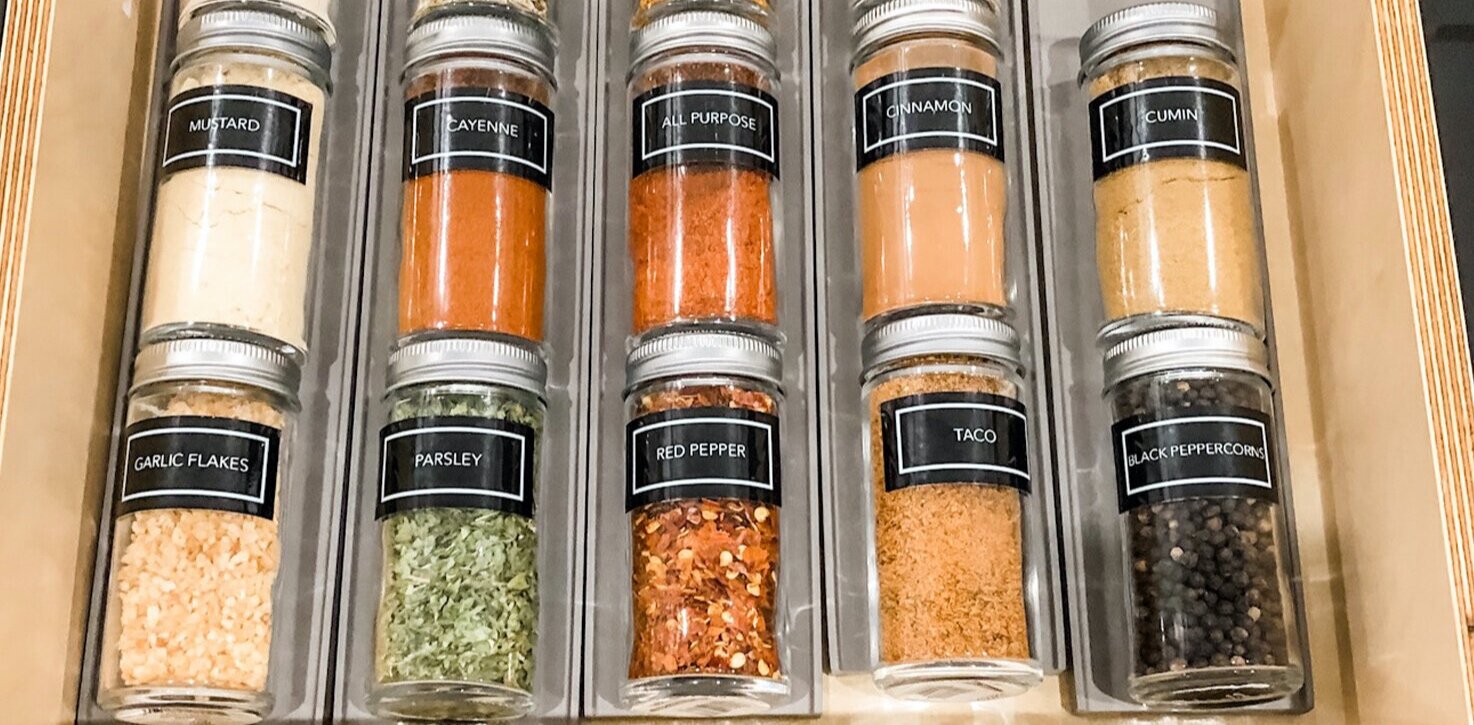
Place organizer and canisters in drawer
This is where it all comes to life. Your drawer organizers are set and your canisters are filled. Let’s see it all together now!

STEP 9:
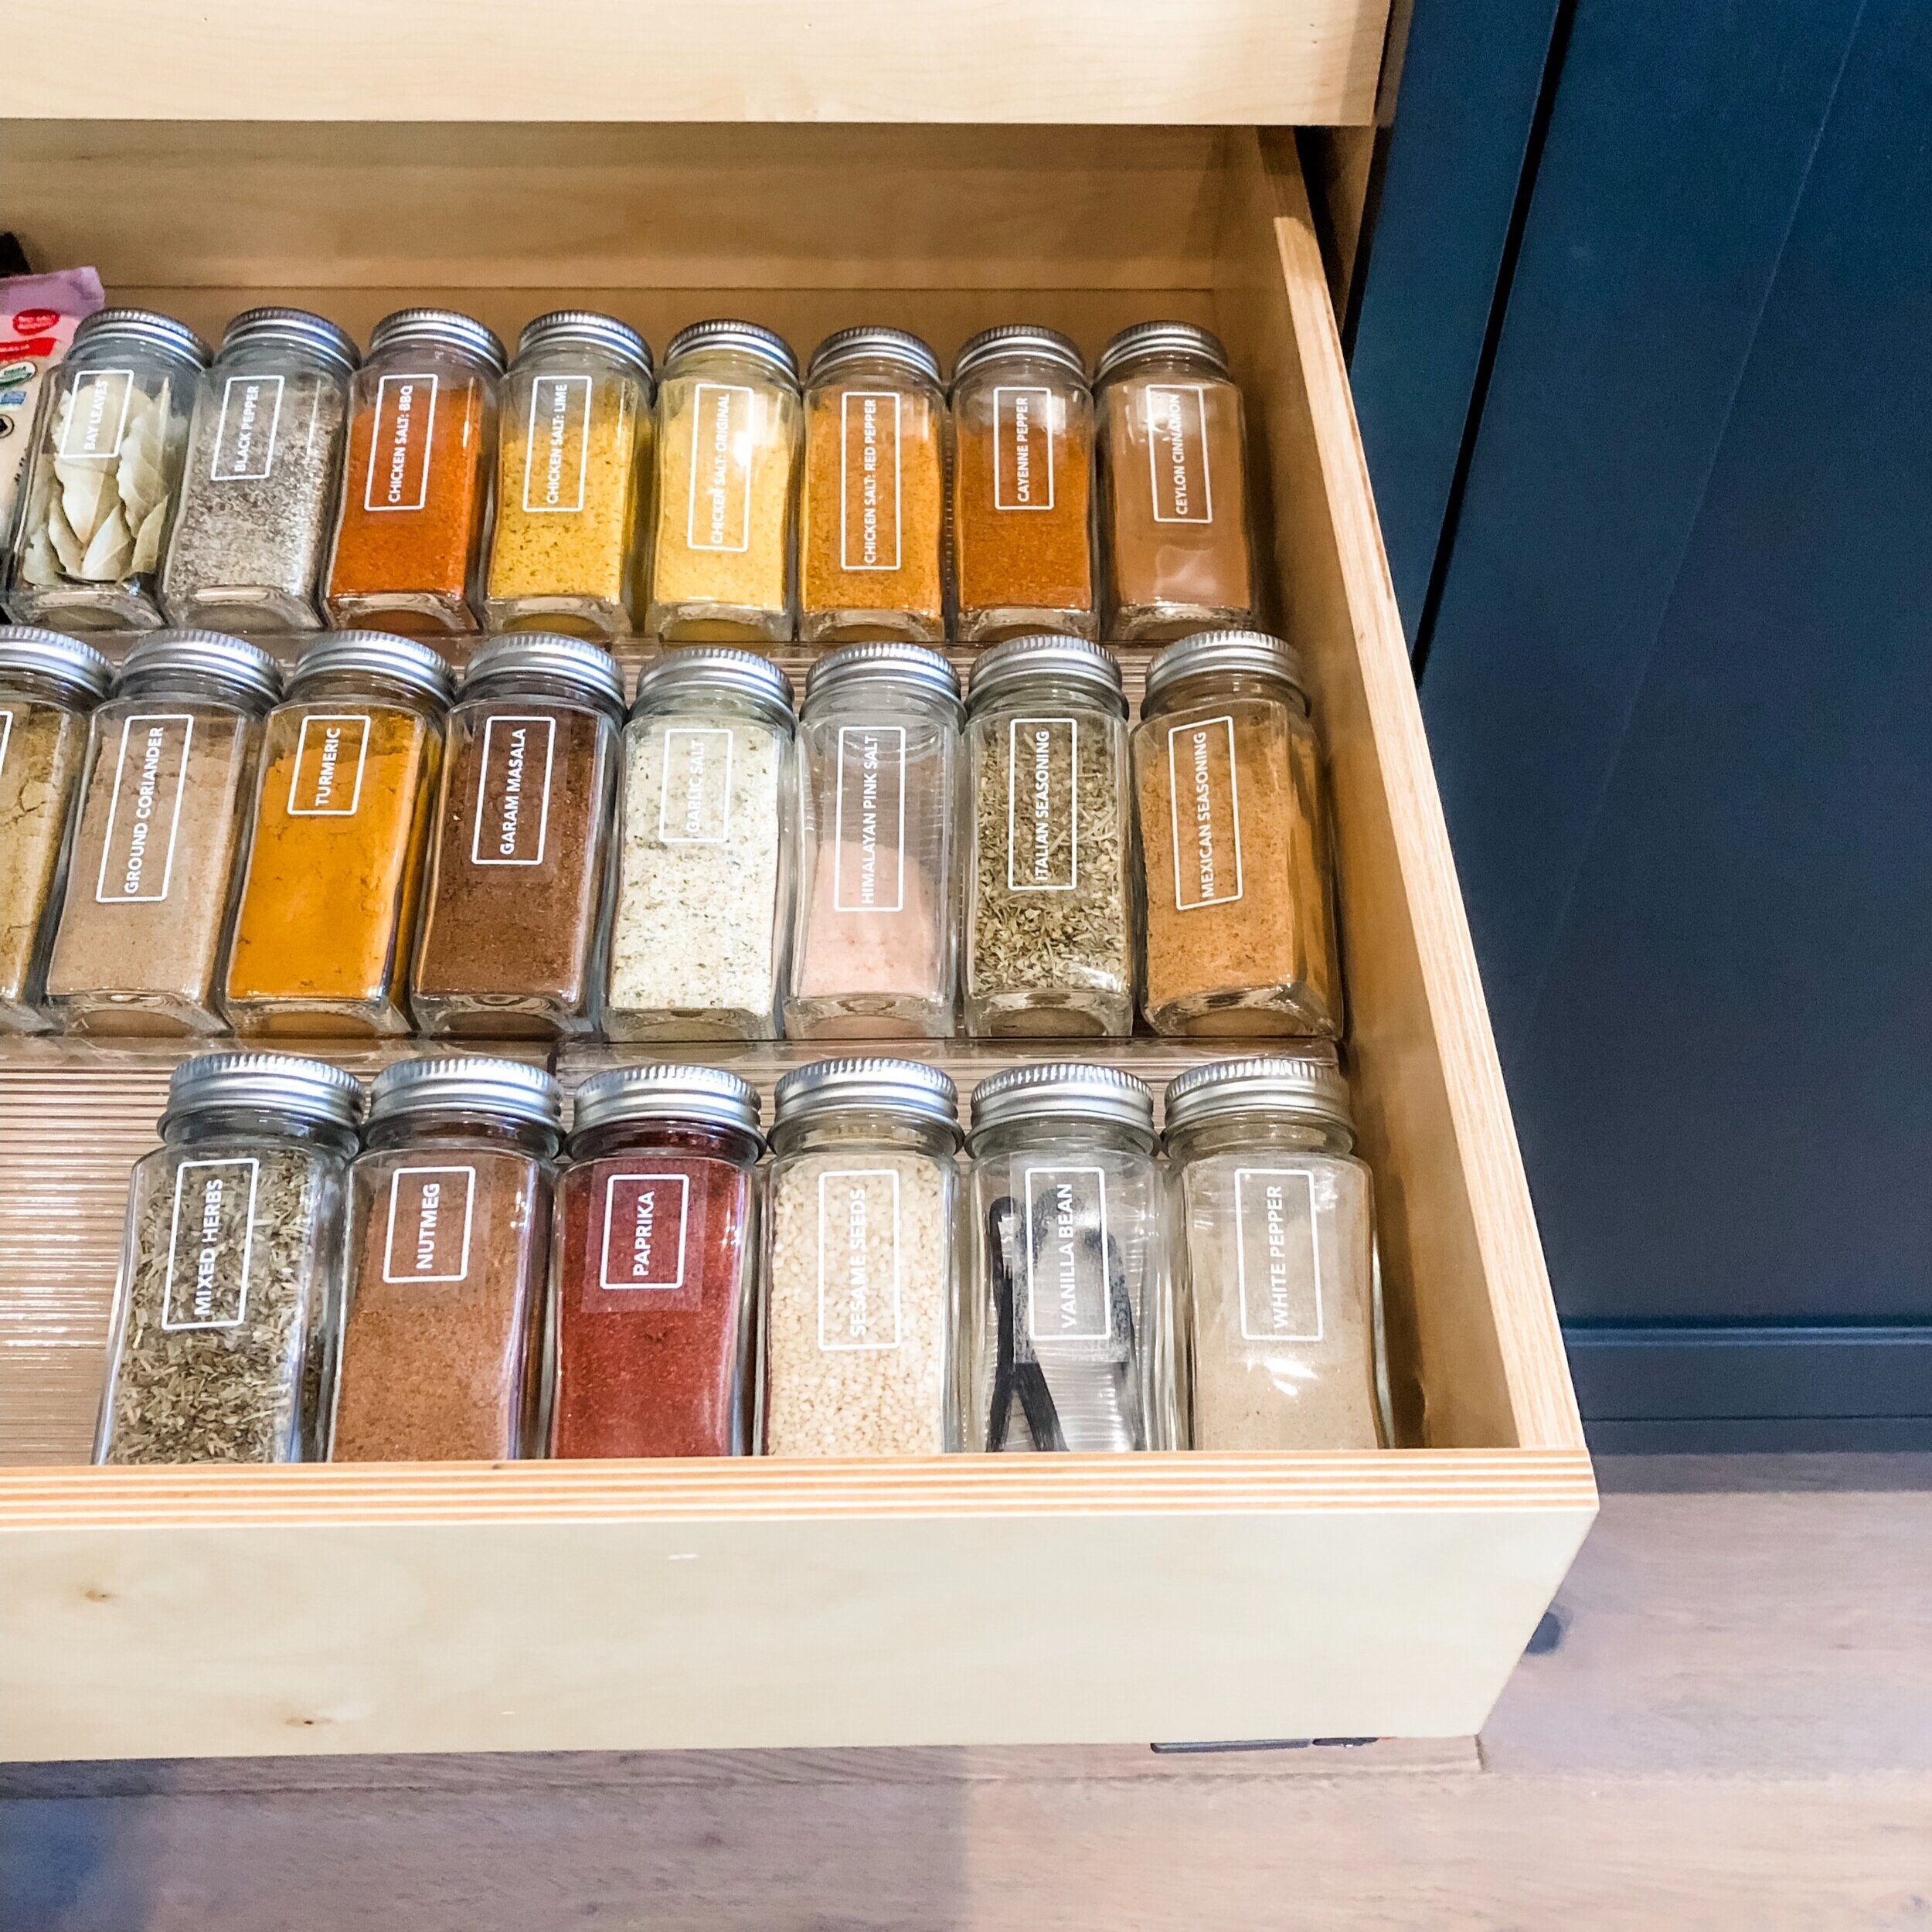
Drool Over the Beauty
